Time to Complete: Approx 5min
Communal offers various configurations for programs and events to ensure they match your organizational needs. In this article, you'll learn how to build your very first program/event. Follow along using the steps below
- Select the Program or Events tab on the left-hand side of the admin portal
- Click Create new Program
- Select if you would like to build a Program or Event
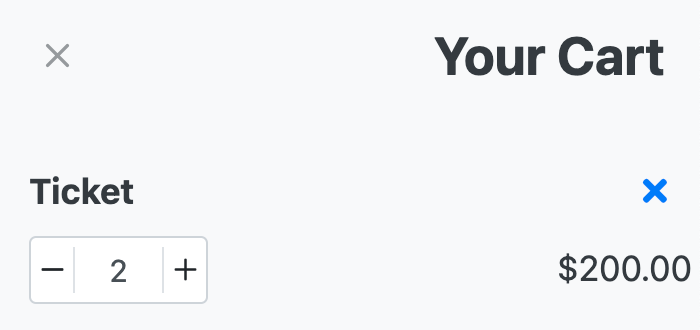
- Event: This option is designed for ticket-based opportunities. As people register, they will have the opportunity to add multiple tickets to their cart for faster registration:

- Program: This option is better for activities such as sports registrations
- Event: This option is designed for ticket-based opportunities. As people register, they will have the opportunity to add multiple tickets to their cart for faster registration:
- Enter the Title, Description, and Demographic information for the program/event
- Next, add the overall dates for the program/event. Later in the process, you'll have the ability to enter more specific dates for each class or instance of the program. This initial date is meant to represent the entire time this program/event is running
- Select the Image for your program/event. You can either upload an image or use our stock photo integration to pick an image
- If your program/event has a specific Location, you can enter it next
- Then, you have the option to allow for File Uploads from registrants. Indicate if a file is mandatory and the maximum number of files someone can upload.
- Next, if a waiver is required to register for the program/event, you can configure it in the Waiver section. To learn more about waivers, click here.
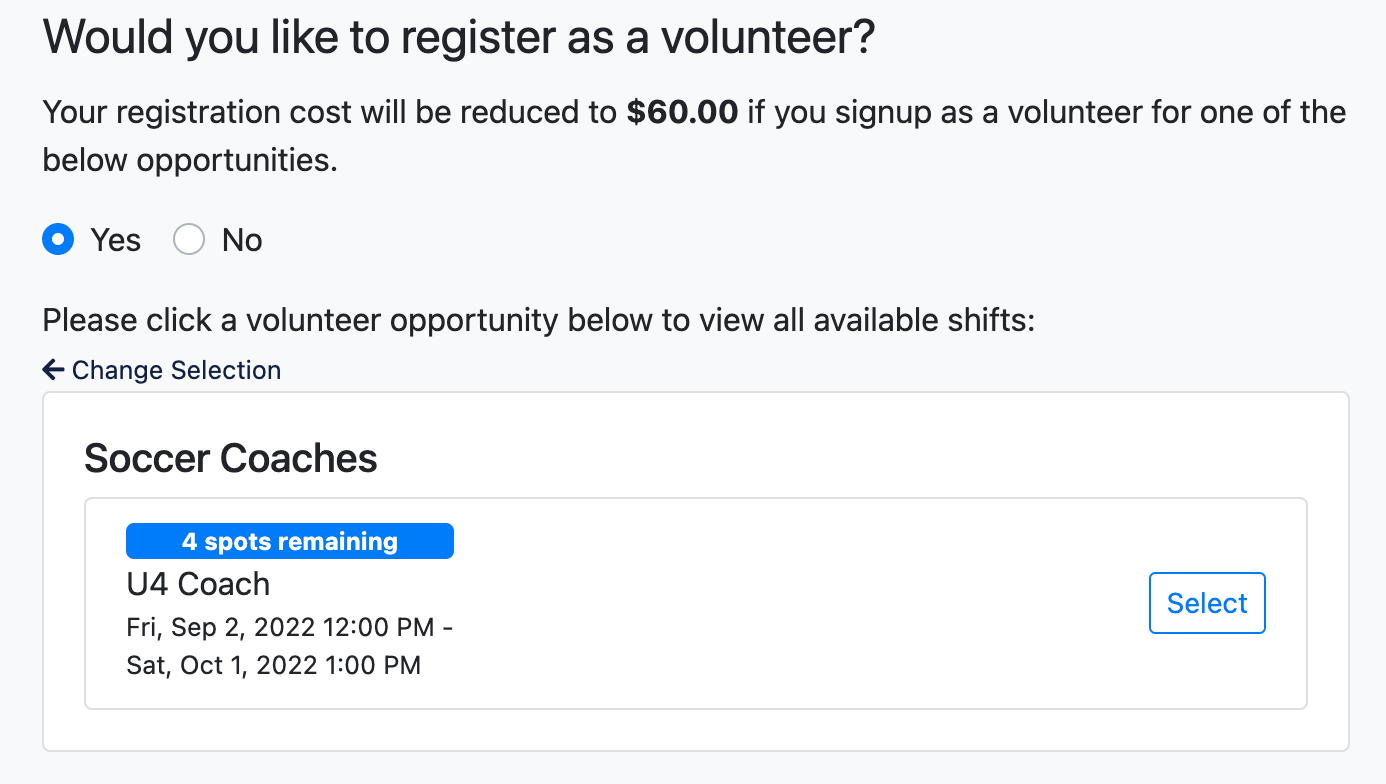
- Next, you can associate a Volunteer opportunity with your program/event. This will highlight the shifts from the associated volunteer opportunity to the individual as they register for the program/event

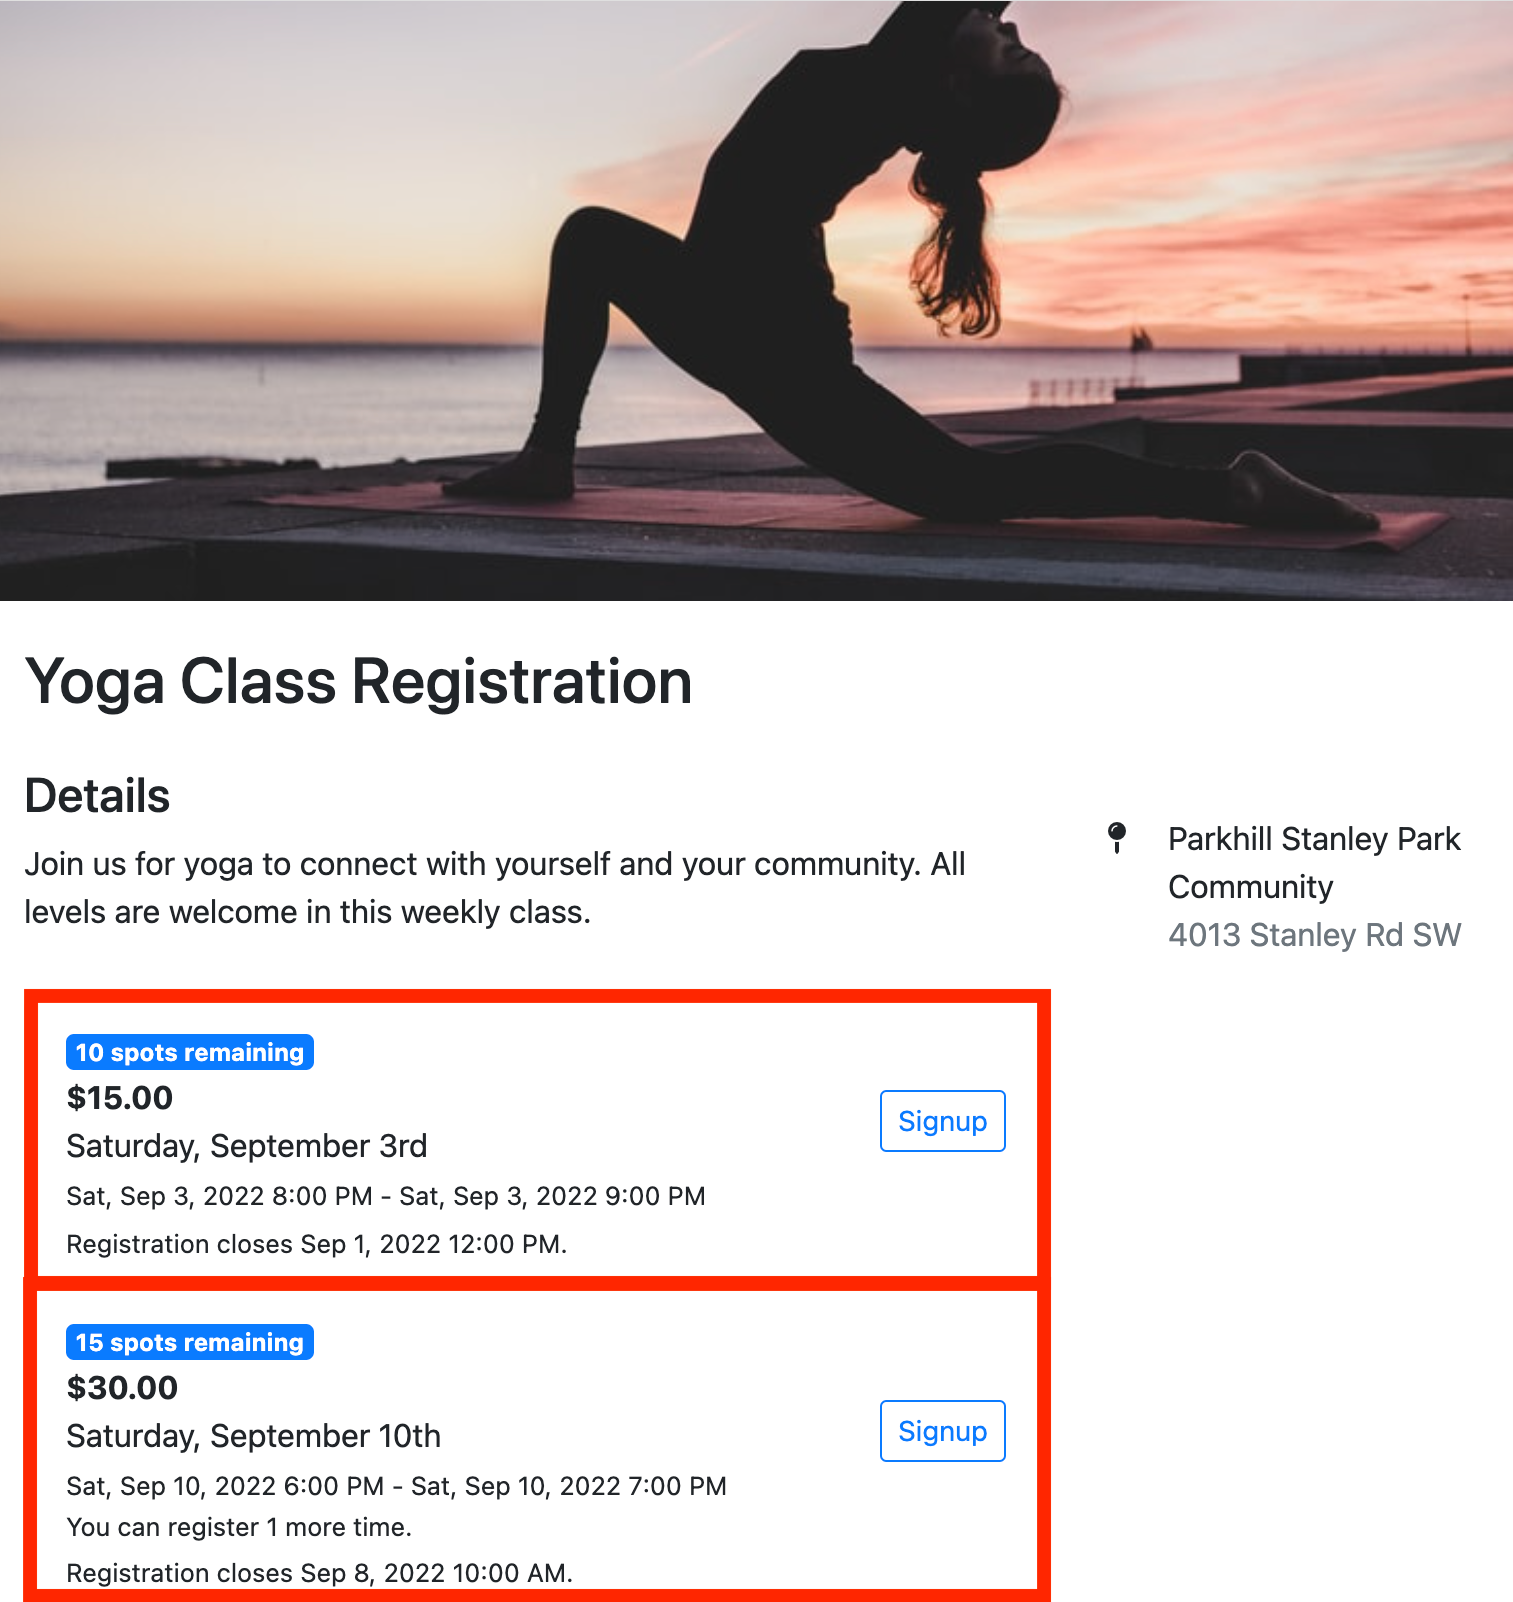
If a volunteer opportunity is associated with a program/event, you can offer different prices to those that choose to volunteer. - Use the Registration Opportunity section to build all of the occurrences of this program/event. This section allows you to build different things such as class dates, teams, and ticket types. An example of a yoga program with two Registration Opportunities is shown below:

- Enter the Total Number of Spots available for the event/program, or leave it blank if there is no limit. For more information on registration limits please review our help article.
- Select + Create Registration Opportunity
- Enter the Title, a Sign up limit if applicable, and Event/Registration Dates for this specific occurrence of the program/event. The Registration Date is how you control when people can sign up for this program/event
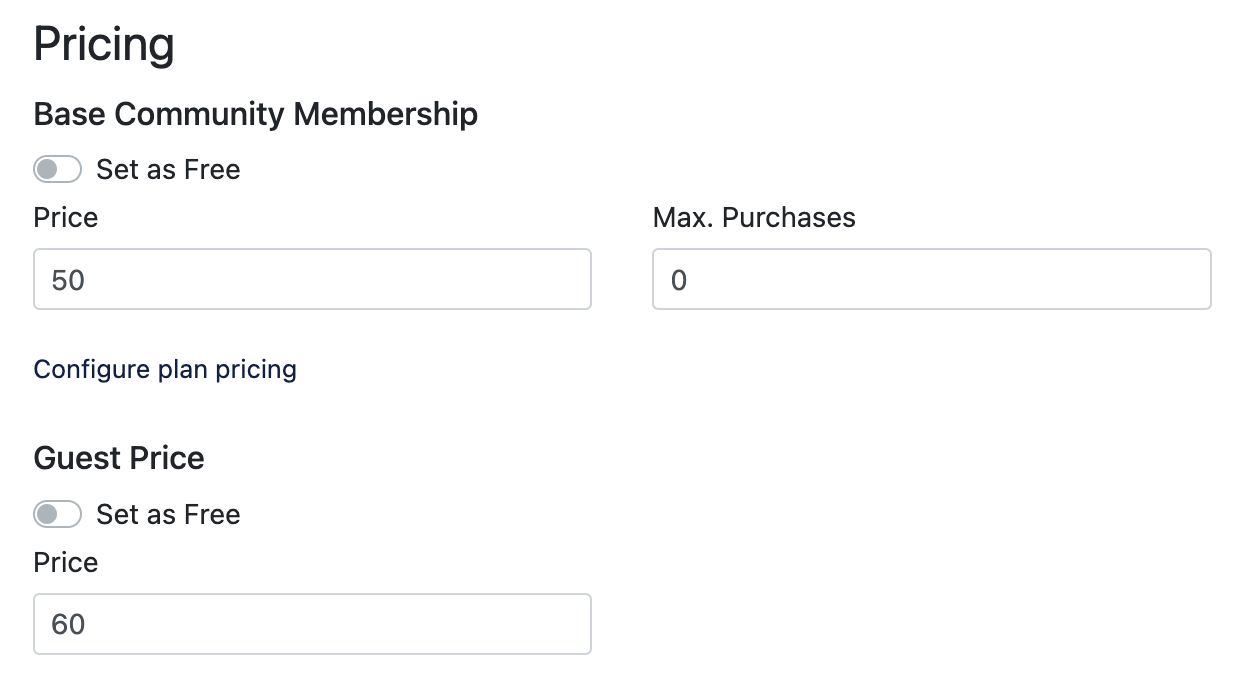
- Next, the pricing section allows you to configure the various price points for your program/event
- Member Pricing: If you offer a special rate for your membership base, enter the price under that membership. Ensure the Guest Fee is a different price. Your guests will be encouraged to buy a membership if there is a discount for members. You can also customize pricing based on the plan type by clicking Configure Plan Pricing

- Multiple Membership Pricing: If you have multiple memberships such as a Racquet Membership & Base Membership you'll have a few more options. Enter the same rate for the memberships if the program price is the same for both, or make one different if you get an added benefit with the additional membership
- Free Programs & Events: You can set if a program is free down to the membership level. Simply click the Set As Free button next to each membership type. If the program is free for everyone, click the button for all of the options
- Member-only Programs: This option is for programs where you wish to display it to the general public but force them to hold a membership to complete the registration. Follow these steps to create a member-only program
- Member Pricing: If you offer a special rate for your membership base, enter the price under that membership. Ensure the Guest Fee is a different price. Your guests will be encouraged to buy a membership if there is a discount for members. You can also customize pricing based on the plan type by clicking Configure Plan Pricing
- Leverage the Settings area to enable a wait list or date of birth validation. The date of birth validation will ask the user to enter the date of birth (DOB) of the participant. They can only complete the registration if the DOB aligns with the ages entered in this section
- Click Save to add the Registration Opportunity
Registration Opportunities are clone-able to allow for faster creation of similar opportunities as seen below:
- Lastly, the Settings section allows you to configure the program/event to your specific needs. Plus you can also make a private program link via this page by hiding the program from public listings. Learn more about each setting here.
Next: Module 4.2 - Create a Custom Form for your Event/Program