This guide will walk you through how to setup your membership to automatically renew.
Note: This is from the perspective of a user looking to renew their membership, not an administrator looking to setup a membership type to be able to have auto-renewals.
1. Perform an Early Renewal
The first method we will go over is called an Early Renewal. This will charge your credit card immediately for the renewal and issue a new membership ID (if applicable).
- Login to your Communal account
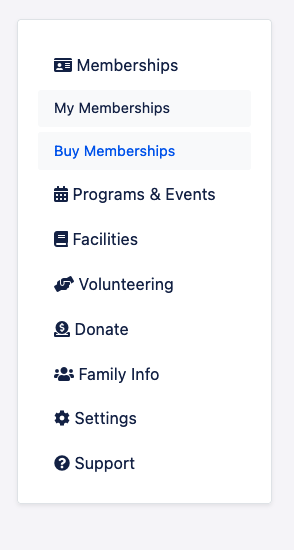
- Navigate to the Buy Memberships section by clicking Memberships -> Buy Memberships
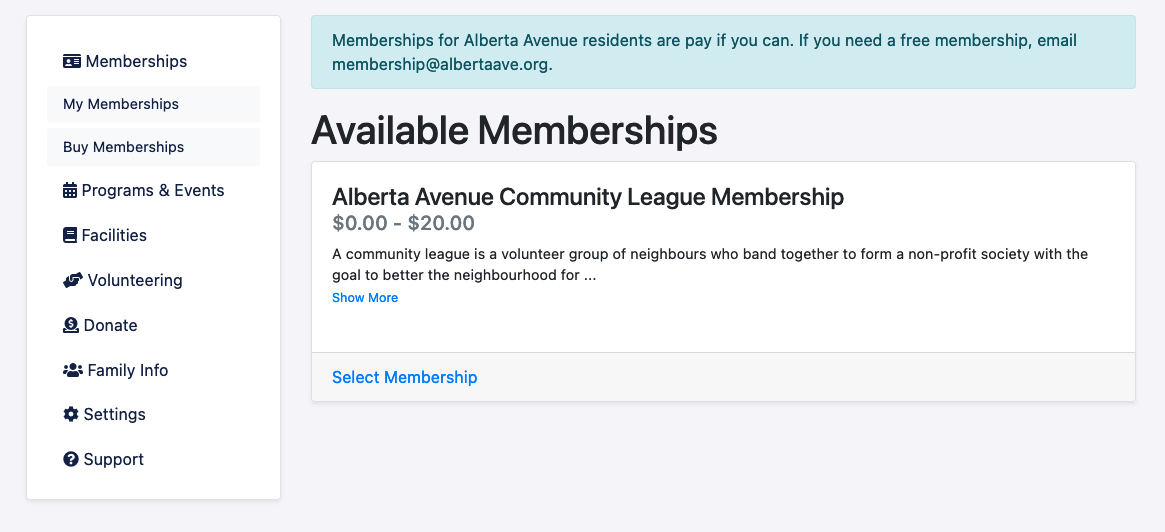
- Look for the membership you would like to renew, click Select Membership, and go through the flow at which when finished it will be added to your cart
- Click Checkout and you will be able to enter your billing and payment details
- Done! You should be charged immediately and a new member ID will be issued (if applicable).
2. 1-Click Auto-renewal Setup
The second method is the 1-click auto-renew that allows you to set your membership up for auto-renewal. This method does not charge your card immediately and a new membership ID will be issued on your actual renewal date, not immediately.
- Login to your Communal account
- Navigate to the My Memberships section by clicking Memberships -> My Memberships
- Find the membership you would like to renew. You should see something that looks like the below screenshot:
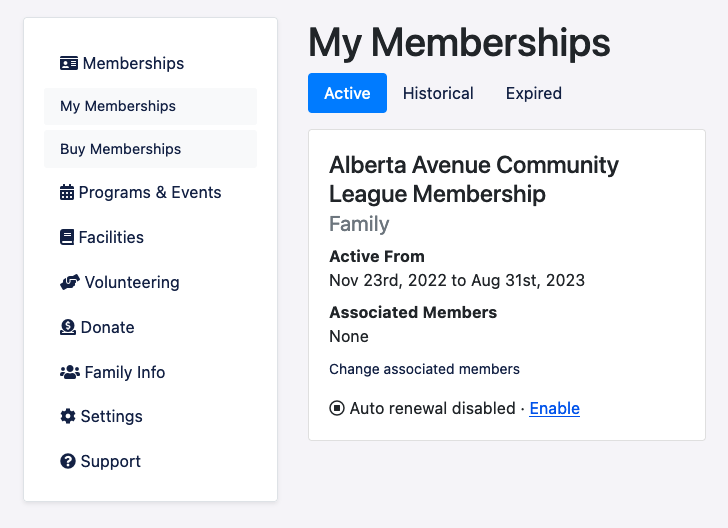
- Click "Enable"
- That's it! Your membership will be set to auto-renew.
Note: This requires that you have denoted you would like to be able to re-use your payment details on your Communal account. If you need to add your payment details to your account still, you can click the prompt that appears or go to Settings -> Payment.