Say goodbye to outside form builders and manual entry when collecting information from your user base. Communal's Forms allow you to build an unlimited number of custom questions in varying formats. Whether you are collecting information for a volunteer opening, facility rental, craft fair, or program, Forms will ensure that your staff have the information they need.
- How to Create a Form (Basic)
- How to Create a Form (Intermediate)
- How to Set Up Conditional Formatting
- How to Share your Public Form
- How to Download Responses
How to create a Basic Form:
How to create a Form (Intermediate):
- Select Tools and then Forms tab on the left-hand side of the admin portal.
- Click Create new form.
- Complete the initial fields and select a Form Type:
Registration Form: This type of form is used to ask questions to your users when they first register for an account. This is a good opportunity to collect one-time-only information that you will not need to update in the future. An example is shown below: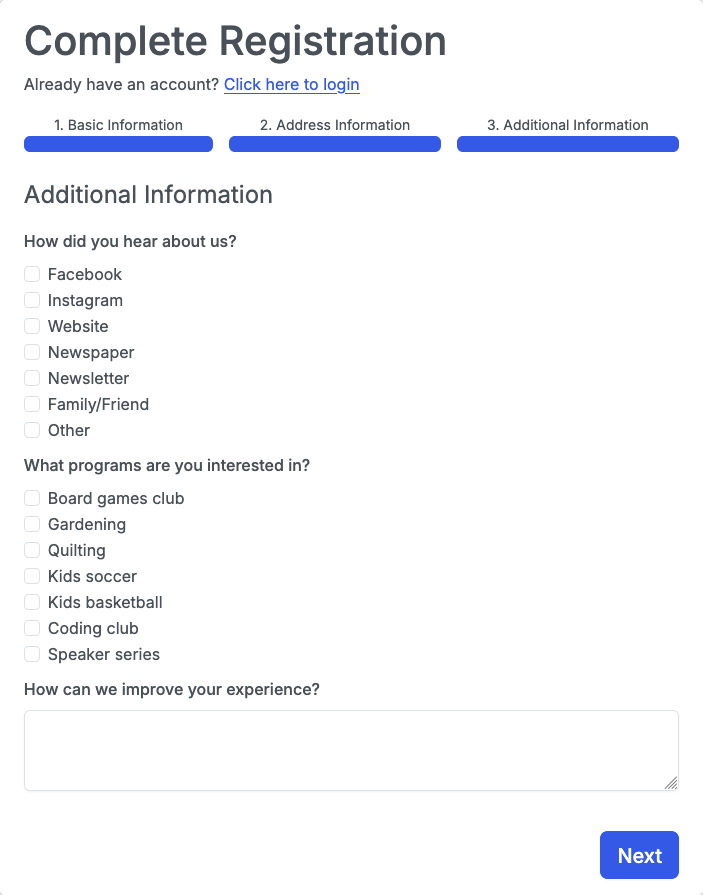
Public Form: This type of form is designed to capture information from a group of participants outside of the registration process. Once you build the form, an online URL/link is generated that connects to your form. You can share this link to have your participants complete the questions. A basic example of a volunteer application form is shown here.
Membership Form: This type of form is designed so you can ask each of your membership types different questions and avoid using conditional formatting. This form will also be asked to be completed again upon membership renewal to ensure the most up to date information from members.
Program Form: Create custom forms for each program or event that you offer. These will be available to select during the form step of creating a program.
Booking Form: Utilize this form type to create your booking form/contract and associate it with your facility. Have multiple facilities? Simply clone your form and connect it to the next facility. - Build your form's questions and fields:
- Start by dragging one of the components on the left-hand side (Text Field, Text Area, Number, Password, etc) and drop it in the middle of the page.
- A new component box will open which allows you to start building your question. The box is different depending on which component was selected. Shown below is an example of the Select Boxes component:
- Start entering information in the fields and use the Preview section to view how these fields change the question. Commonly used areas:
Label Field: Used as the title of your new field.
Data Tab: For lists and drop-down fields, use this area to enter the options that the registrant can select.
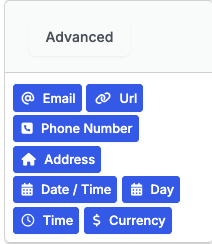
Validation Tab: Force a question to be mandatory or restrict how many options a registrant can select from a drop-down or list. - Next you can use the Advanced area to enforce particular formatting of form responses. Simply drag and drop the desired format and customize the question just as outlined in step 3.
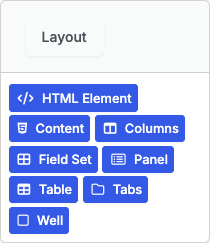
- Additionally, you can change the Layout of your form by using the options shown in the image below. For example if you have blocks of texts you want a user to review, using the Content field would be a great option.
- Complete the remaining relevant fields for your question then click Save.
Not all the fields within the component are required. Remember to use the Preview section until you are satisfied with the result. - Add the rest of your questions.
- Start by dragging one of the components on the left-hand side (Text Field, Text Area, Number, Password, etc) and drop it in the middle of the page.
- Ensure the order of your fields is correct. To move them, click and hold your mouse over the field then move it to the correct location.
- Save your form.
How to create conditional formatting within your form:
How to share your Public Form:
If you have selected a Public Form, a link will be provided once you save the form. Use this link to share your form with relevant groups:
How to download form submissions:
- Select the Forms tab on the left-hand side of the admin portal.
- Locate your form then click the ••• then Download Submissions.
- A CSV file will be provided with all of the answers to your various submissions.