Volunteer opportunities are a quick way to present the volunteering roles and responsibilities that are available at your organization. You can create generic opportunities or leverage shifts to specify the exact timing and responsibility of the task.
Follow the steps below to create a volunteer opportunity:
- Select the Volunteering then All Opportunities tab on the left-hand side of the admin portal.
- Click Create new Volunteer Opportunity.
- Fill out the form with your desired dates and times.
- If relevant, select any waivers you need to attach to this opportunity.
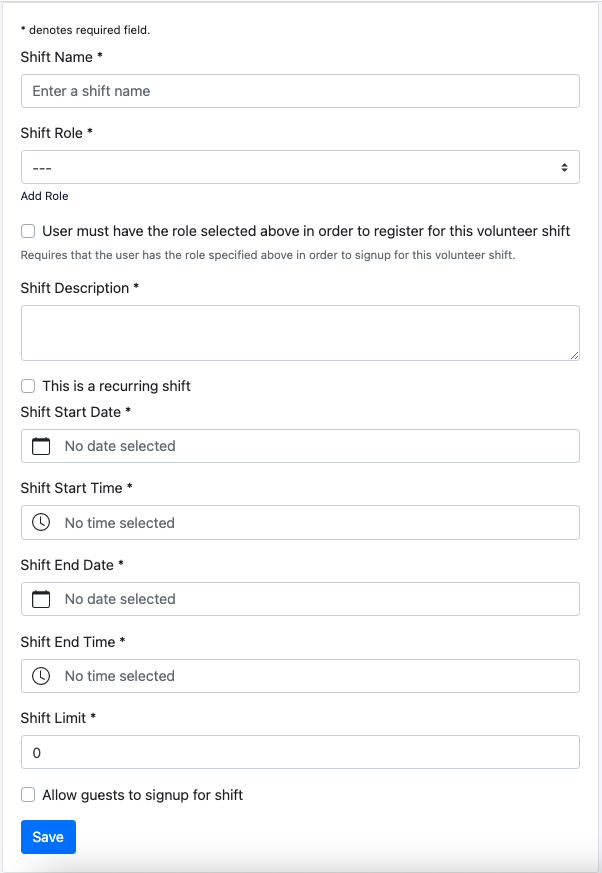
- Once the initial form is complete, you will be able to create your shifts.
- Shifts allow you to create multiple roles for the opportunity with different dates and times.

Each shift can be public or private by using the Allow guests to signup to shift configuration. - Leverage the User must have the role selected above in order to register for this volunteer shift if you want to build volunteer shifts that are only accessible by individuals that have a preassigned shift role. An example is a situation where only your board members can register for a shift.
- Click Save Opportunity.
Adding an image to your volunteer opportunity:
- Select Volunteering then the All Opportunities tab on the left-hand side of the admin portal.
- On the right-hand side of your opportunity click the ••• and select View Opportunity.
- Select Set Opportunity Image.
- From here you can either upload an image or use our stock photo integration to pick an image.
- Click OK.
Viewing and publishing your opportunity:
- Select Volunteering then the All Opportunities tab on the left-hand side of the admin portal.
- On the right-hand side of your opportunity click the ••• and select View Opportunity.
- Review your opportunity to ensure it is ready to be published.
- Once ready, go back to the previous page, click the ••• and select Publish.