Communal Forms allow you to collect specific information while individuals register for specific programs/events. The answers are then directly associated with the signup. These questions could be anything from T-Shirt Size to seating preferences. Overall, this will ensure that you and your team have all the necessary information to run your programs/events.

How to create a Program Form:
- Select the Tools then Forms tab on the left-hand side of the admin portal.
- Click Create new form.
- Add a title for your form and select Program Form as the Form Type.
- Build your form's questions and fields:
- Start by dragging one of the components on the left-hand side (Text Field, Text Area, Number, Select Boxes, etc) and drop it in the middle of the page. Commonly used areas are highlighted below:
Select Box: This component allows users to select one or more options in checkbox style format. Set your values within the Data tab of the settings.
Text Area: A Text Area is a multi-line input field that allows for longer text.
Text Field: A Text Field can be used for short and general text input.
Select: The Select component displays a list of values in a dropdown list where users can select one of the values.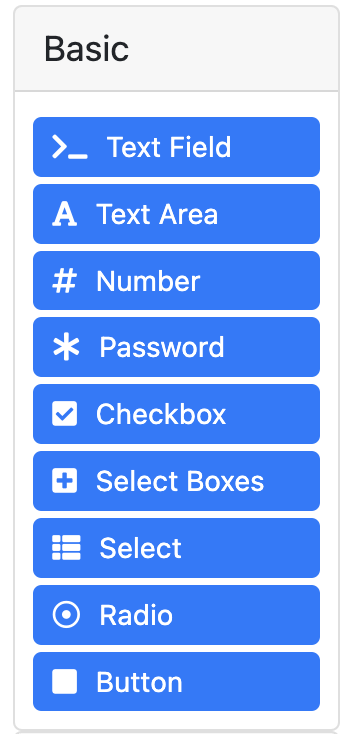
- A new component box will open which allows you to start building your question. The box is different depending on which component was selected. Shown below is an example of the Select Boxes component:
- Start entering information in the fields and use the Preview section on the right to view how these fields change the question. Commonly used areas:
Label Field: Used as the title of your new field.
Data Tab: For lists and drop-down fields, use this area to enter the options that the registrant can select.
Validation Tab: Force a question to be mandatory or restrict how many options a registrant can select from a drop-down or list. - Complete the remaining relevant fields for your question then click Save.
Not all the fields within the component are required. Remember to use the Preview section until you are satisfied with the result. - Add the rest of your questions.
- Start by dragging one of the components on the left-hand side (Text Field, Text Area, Number, Select Boxes, etc) and drop it in the middle of the page. Commonly used areas are highlighted below:
- Ensure the order of your fields is correct. To move them, click and hold your mouse over the field then move it to the correct location.
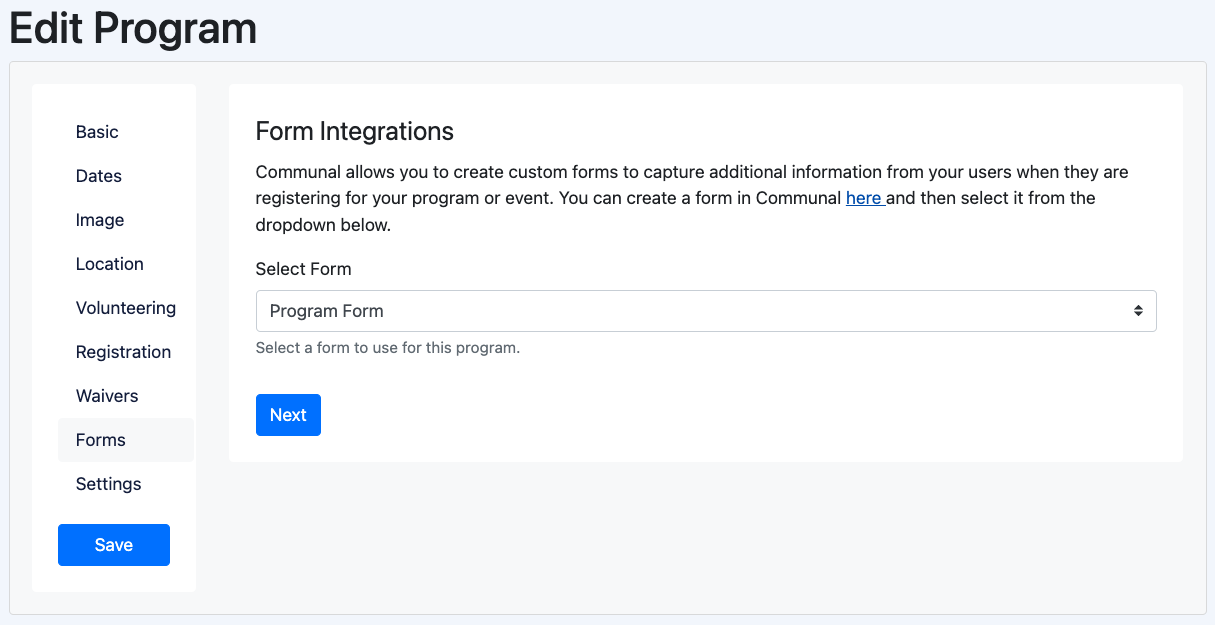
- Save your form. The form will now display as a selectable option within the Forms section during the program-creation process.
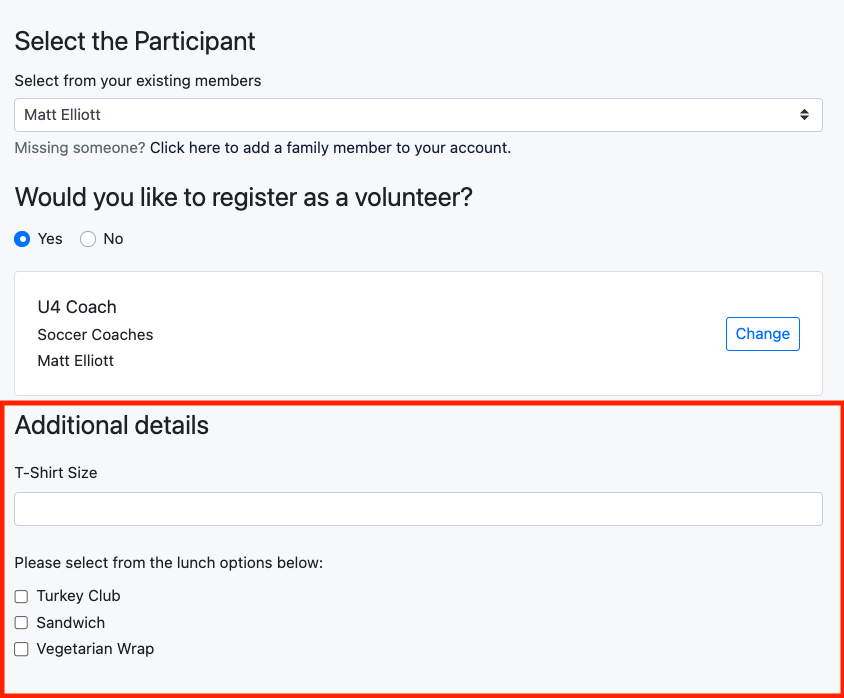
- After selecting the form, the questions are displayed during the registration process as seen below:
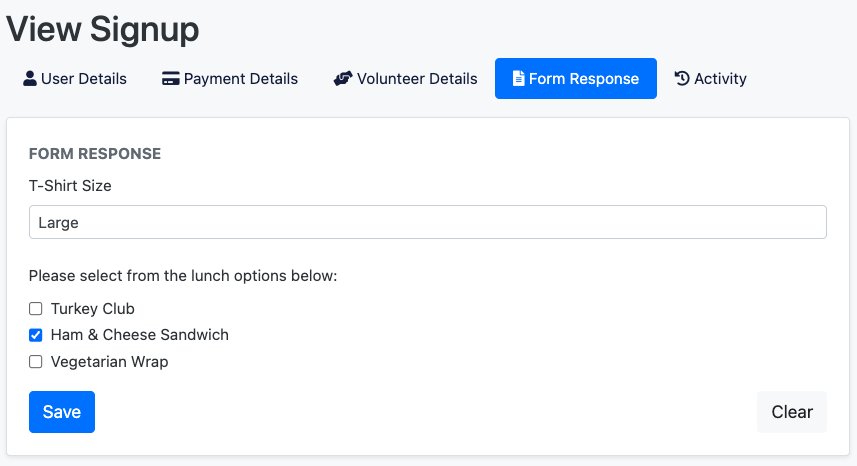
- View the answers by going to the viewing the signup and clicking the Form Response tab.