Estimated time to complete: 5 min per add-on membership
First, you will want to start by creating your base membership if you haven't already. If you need to complete your base membership still please follow these instructions otherwise please follow the steps below.
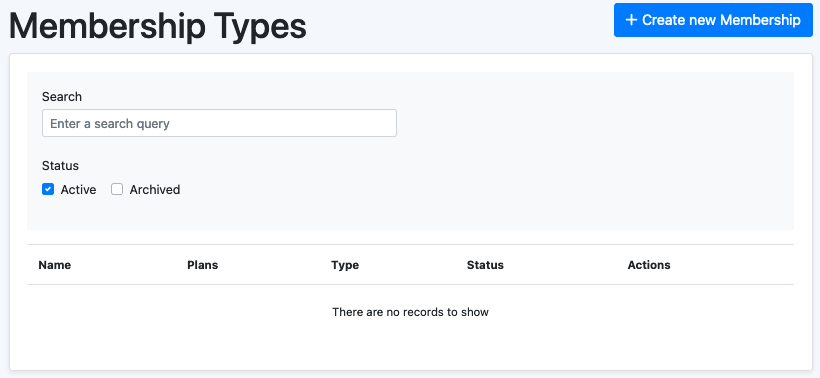
- First, you will navigate to your Manager Dashboard and on the left-hand menu select Membership Types
- Then select Create New Membership. Your page will open up and ask you for information about your membership. Continue following along as we explain each step along the way

- Next, you will want to input your Add-On membership's name.
- Then, you will select the Membership Type. Choose Add-On as the Membership Type. An Add-on Membership is a membership that a user can purchase after they have already bought your Base Membership
- Next you will need to select the Desired Base Membership. This is the membership someone will need to have in order to purchase the Add-On membership.
- Next, you will write a Membership Description that will be displayed to the public. This can be something very simple like "tennis court membership"
- The next step is to set up your Renewal Settings starting with your Membership Renewal Frequency. For this, you will choose between Specific Date (i.e., all your memberships are active from November 1 to October 31 every year) or Rolling (i.e., your memberships are valid for one year from the date of purchase. This is the recommended choice.) If you choose Specific Date you will need to set a Membership End Date. This will be the date that the user is required to renew their membership or their membership will expire
- Next, determine the Number of Days Before Expiration during which a user can renew their membership. We typically recommend 60 days to give members ample time to renew. This setting allows users to renew their membership while keeping the same expiration date. For example, if a user has an active membership that expires on December 31, 2024, they can renew as early as October 31, 2024, and their new expiration date will be December 31, 2025
- Next, select whether you want users to have the option to enable Auto-Renew for their membership. We suggest offering this option, as it can help promote membership retention.
- You will then set your Notification Settings. If you are still in the process of launching your Communal instance it is important not to set any notifications until after you’ve launched your Communal account to your membership base. This is to prevent notifications from accidentally being sent to users too early
- Then in the Additional Settings area, you can select a Waiver if you have one. If you do not have one then select if you want to Exclude this Membership from Tax Rates and Hide this Membership from the Public
- Then click Save and you have your umbrella membership. If you have multiple umbrella memberships repeat steps 2-11